How To Capture Mac Desktop Audio With Obs Dekay's Blog
Because by default it's so dumb. Literally.
OBS (Open Broadcaster Software) is a great program for streaming and recording gameplay on a PC. I've used it quite a lot, but it has frustrated me for a while that the Mac version has – through no fault of OBS – no ability to capture game audio. On the PC, you can capture "desktop audio" or "what U hear", but that's not an option on OS X. On older Macs, you could run a 3.5mm to 3.5mm cable from the headphone socket to the line in socket, but on newer Macs there's one socket that does both directions, so that's out.
A year or so ago I tried to get either of two solutions working: Soundflower, which sort of did but was really fiddly, and WavTap which never seemed to work at all. Recent versions of OS X have actually prevented Soundflower from working as intended at all, so there was no (free) solution and I stopped using OBS on a Mac. Until last week.
Soundflower was still in my system settings, albeit unused, and I'd never got round to uninstalling it. It irritated me every time I saw it there but was always busy doing something else and kept forgetting to remove it. This time, however, I finally looked up how to and in the process came across a new utility which effectively replaces it, and works: IShowU Audio Capture. There's a full (paid for) software package called IShowU, but all you need for this purpose is the audio capture part, which is free.
How to make IShowU work with OBS
Firstly, download IShowU Audio Capture from this link, and install it as shown. You don't need Step 6 yet, so do 1-5 and come back.
(time passes)
Done? Hello again!
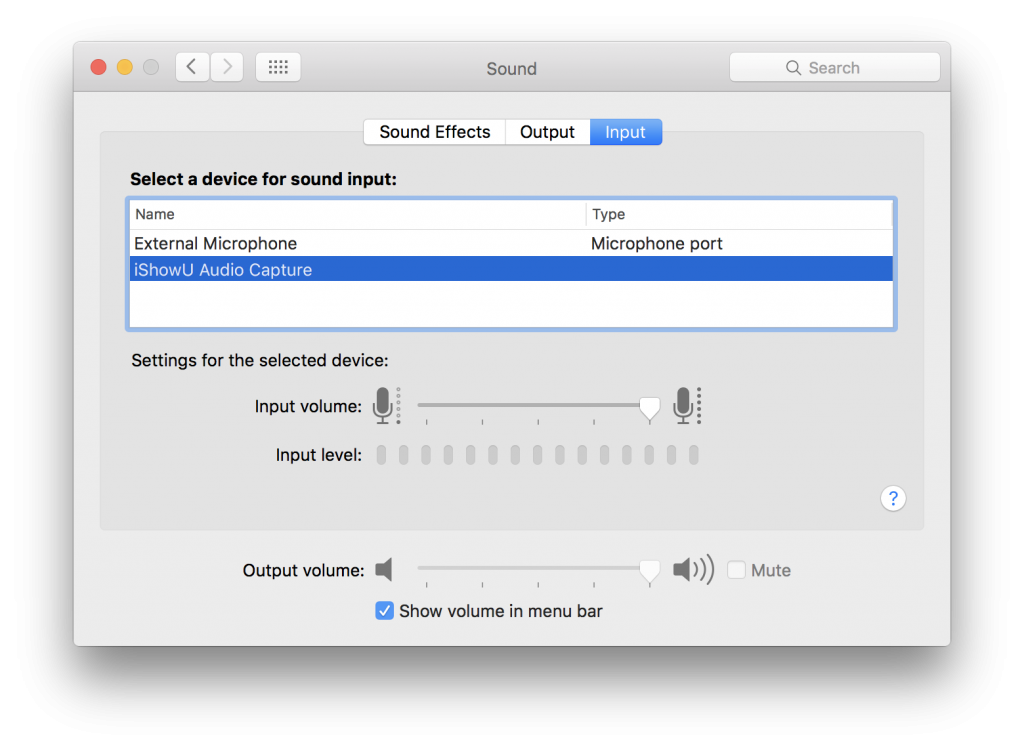
So, step 6 is going into System Preferences > Sound and choosing IShowU Audio Capture as your sound input device, which will work, but keep reading for an additional tweak.
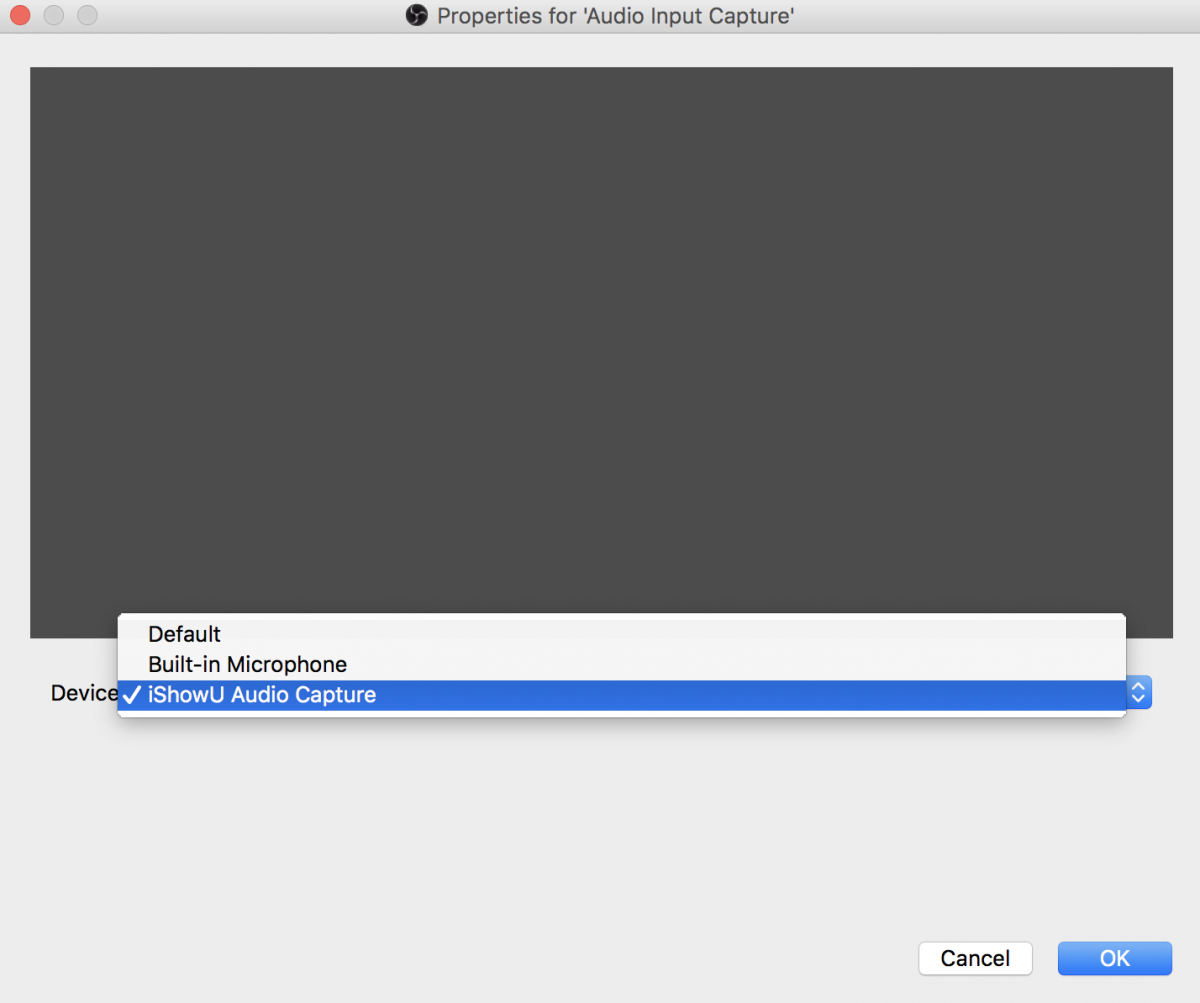
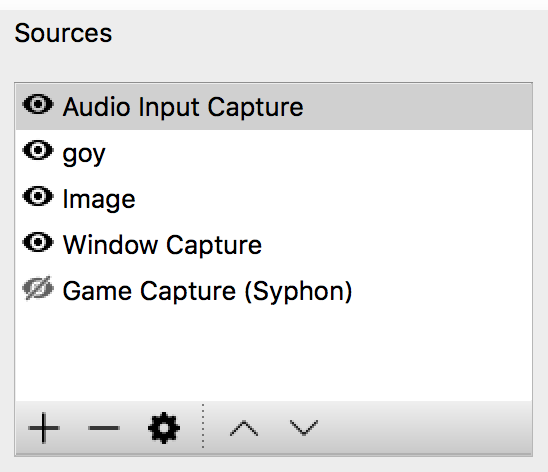
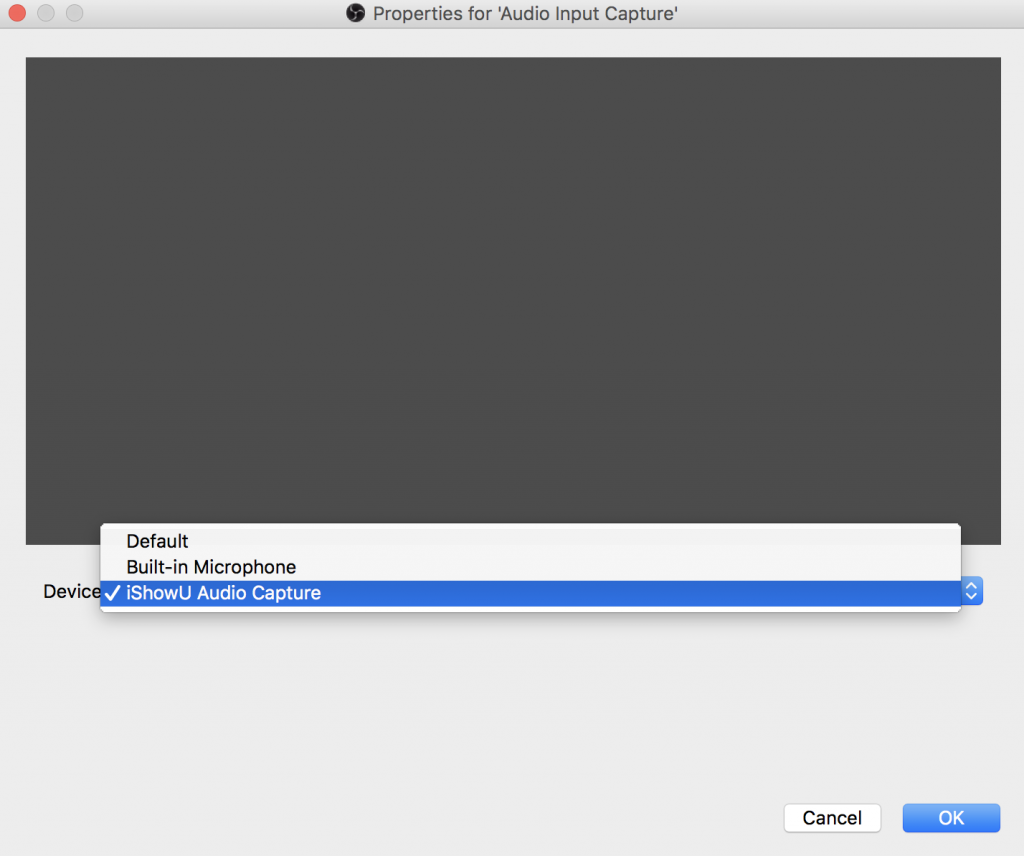
All you need to do now is open up OBS and choose a new Audio Input Capture source (click the + under the Sources box), then choose IShowU Audio Capture as the device. That's it!
Only… there's a snag. This will indeed capture all "desktop audio" (so you'll probably want to close or mute email notifications and so on when streaming or recording), but crucially it won't actually output any sound to your speakers or headphones so you'll be playing mute. This might not be a problem, but if it is, read on.
Open up the Audio MIDI Setup app from Applications > Utilities. In here we're going to create a multi-output device, so you can output your desktop audio to both IShowUand headphones/speakers/whatever at the same time.
Click the + in the bottom left, and choose "Create Multi-Output Device". Then, in the right-hand pane for this new device, make sure you tick "Built-in Output" and "iShow Audio Capture". Leave drift correction set to Built-in Output.
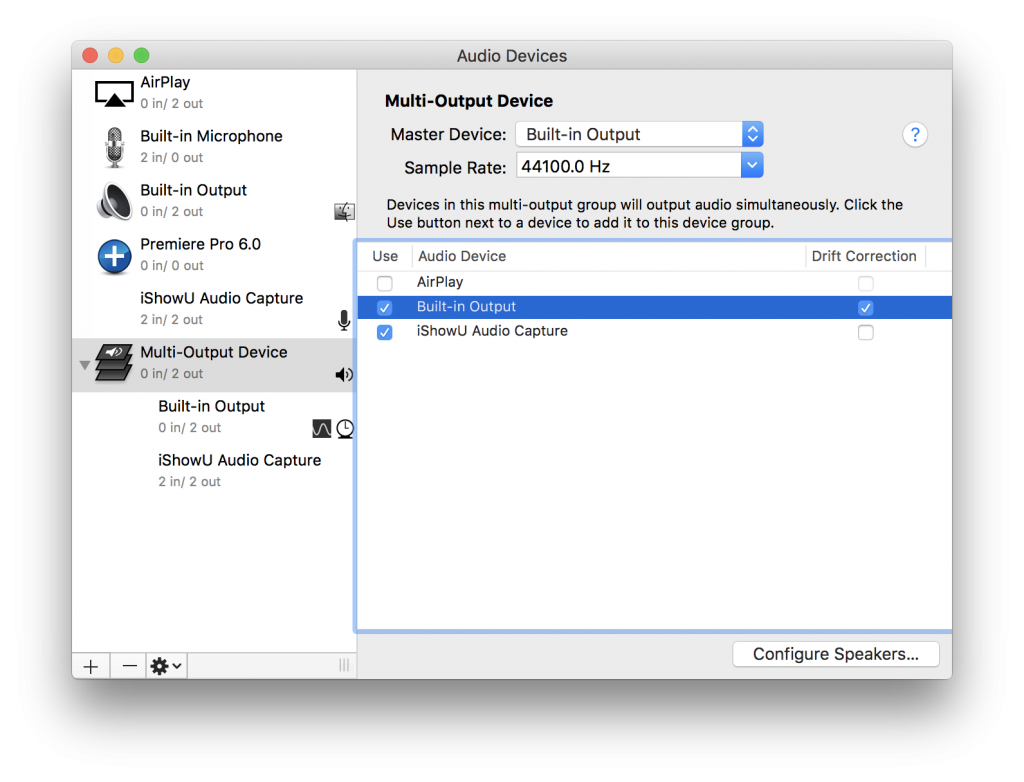
Close that, and head back over to System Preferences > Sound. You'll now have an output option for your new Multi-Output Device. Before you choose it, make sure you set your volume level how you want it: you can't adjust the volume of a multi-output device!
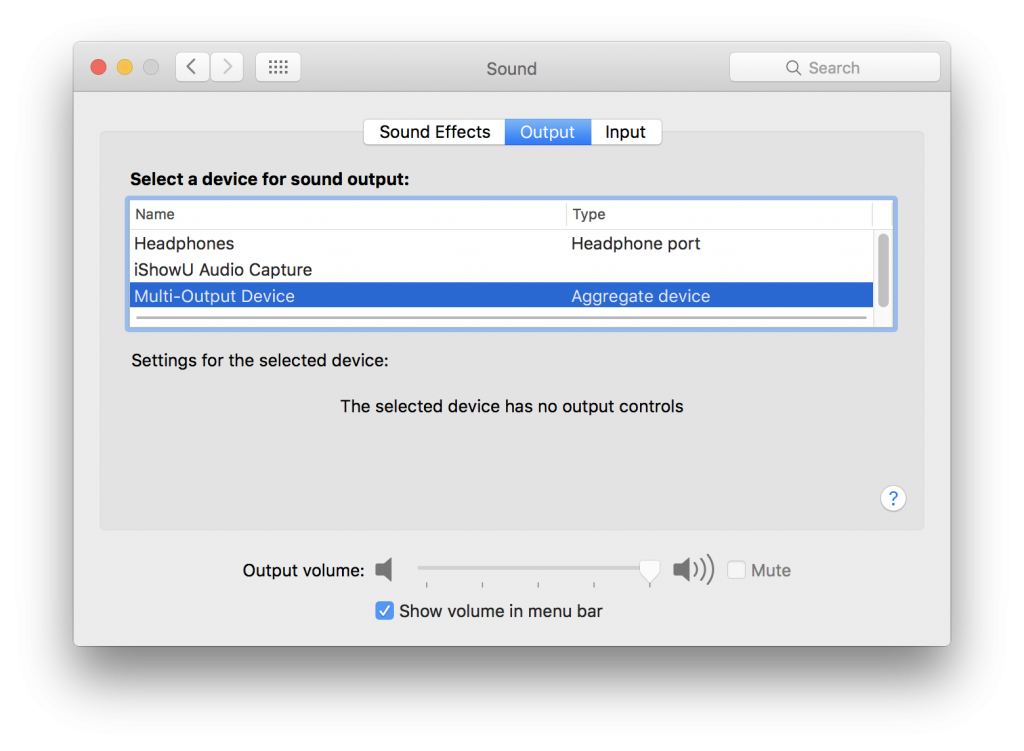
With the volume set, choose Multi-Output Device as your, er, output device, and you'll notice the volume slider grey-out. It's time to go back to OBS and configure the Audio Input Capture there – same as before, choosing IShowU Audio Capture.
You're done, although you might want to remember to choose your usual output settings in System Preferences when you're finished recording!
How To Capture Mac Desktop Audio With Obs Dekay's Blog
Source: https://lofi-gaming.org.uk/blog/2016/09/17/capture-mac-desktop-audio-obs/
Posted by: perrythout1960.blogspot.com

0 Response to "How To Capture Mac Desktop Audio With Obs Dekay's Blog"
Post a Comment