

Creating A Magazine In Indesign
Adobe's InDesign may not be as widely used as Illustrator or Photoshop, but it is no less full of powerful tools for getting your graphic design job done. It's a publisher's best friend – handy for print and layout design of all sorts.
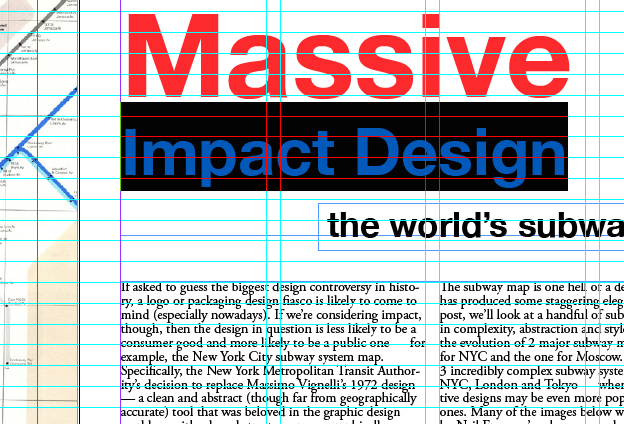
For this beginner's tutorial, we're going to look at how to create a magazine in InDesign. I used an article published on 99designs as the source material to create the first spread of an article: Massive impact design: the world's subway maps. Follow this step-by-step guide and try it out for yourself!
1. Create a new document
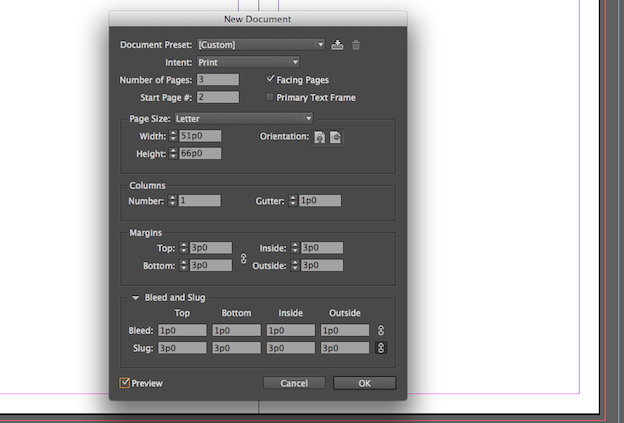
Create a new document by going to File > New > Document (Ctrl/Cmd + N), and change the following settings:
- Number of pages: 3
- Make sure "Facing Pages" is clicked so that you will see a spread and not just single pages.
- Start page #: 2
- Page size: Letter
- Margins: Leave at 3
- Bleed: 1p0,
- Slug is optional, but it should be included if you want to leave notes in the file but not printed on the document itself.
2. Set up a grid layout
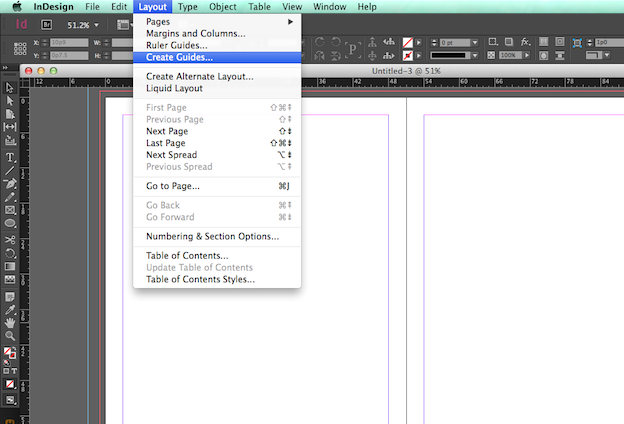
To create guides start by Layout > Create Guides…
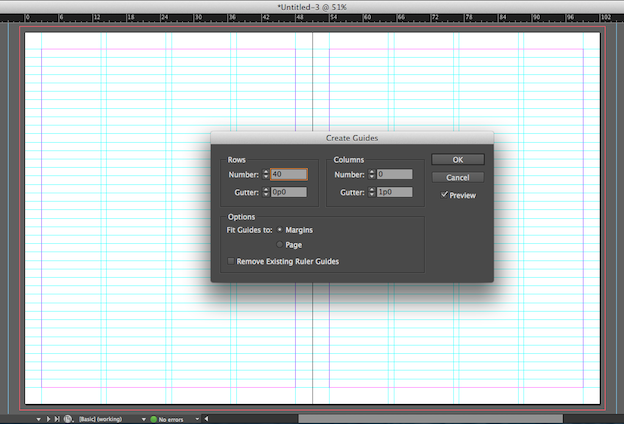
Then set a grid by creating guides:
- Row number: 40
- Gutter: 0
- Columns number: 4
- Gutter: 1p0
- Fit guide to: margins
- Click preview to view the guides as you create them
And voila! Note that these settings are my own particular preference. When you're creating your own document, it's possible you'll be provided with a grid that's already been created for the publication. If not, you get to create one yourself!
Experiment with different combinations of rows, columns, and gutters to see what works best for you. And when you're done, your document is ready for design.
3. Working with images
InDesign's treatment of images is a bit different from Adobe's other programs. While it can be difficult to adjust to at first, the program gives the designer a powerful set of tools that make it easy and flexible to work with type and imagery together in a layout.
Here are the basics:

To import an image select File > Place… (Ctrl/Cmd D)
In InDesign, the image and frame for the image can be edited separately. This gives you tons of flexibility when it comes to cropping images to fit your layout in the exact way you want to.
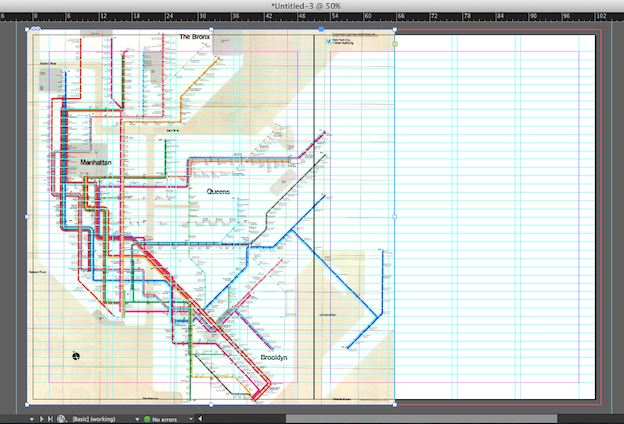
Start by setting the frame for where you want your image on the page. When you import an image, you'll see a light blue line surrounding the picture. That's the frame. You can shift the size of this frame while maintaining the original image's aspect ratio by dragging the frame while holding down the shift button. Otherwise, you can drag the frame to fit the exact space you would like, and it will not distort the appearance original image.
Pro tip: Make sure that you include the bleed when sizing your frames, to make sure that your images will reach the edge of the page after the paper is cut in the printing process.
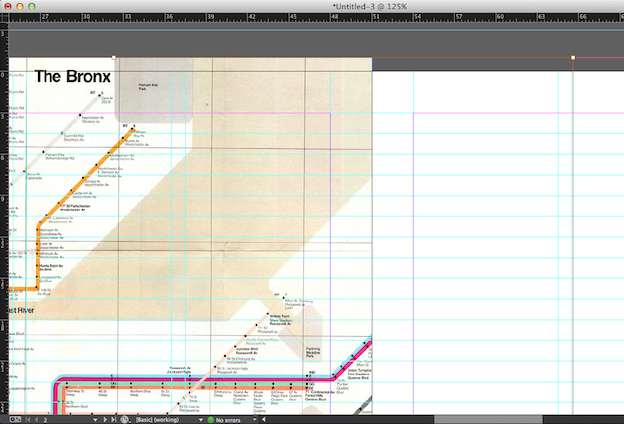
Once you've set the frame for your image, which I did by including the entire left page, you can adjust the size of your image to fill the frame. Access this by double clicking on your image, and a brown outline will appear, displaying the actual image's edges.
The toolbar at the top of the image will display several ways to adjust the size of the image based on the frame:

- Fill frame proportionally: Maintains the image's proportions, but makes sure the entire frame is filled.
- Fit content proportionally: Maintains image's proportions while fitting the entire image in the frame, so the frame may not be completely filled.
- Fit Content to frame: Skews the proportions of the image to make it fit into the frame.
- Fit Frame to content: Skews the proportions of the frame to make it fit the image.
- Center content: Centers the content within the frame.
- This group aligns the image to the left, right, center, top, and bottom.
My preference is to manually adjust the size of the image to the frame to get it the exact way that I want it.
4. Working with title text
When your image is in place, it's time to work with text.
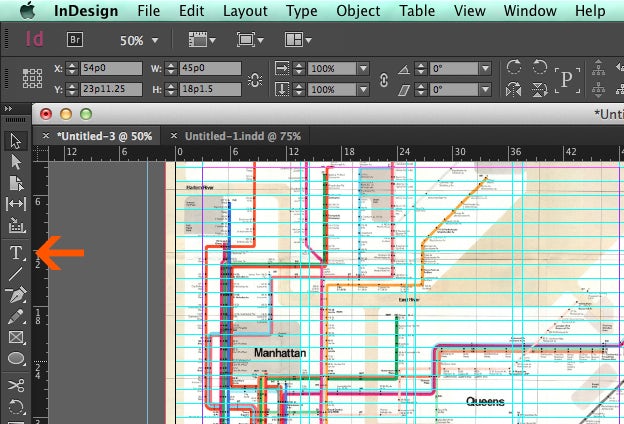
Select the Type tool and drag a text box across the blank page.
Place the text box in the center of the page, so there will be white space above it but also room for the body text underneath. When you're moving your images, violet colored guide lines will appear to indicate the center of the page, both horizontally and vertically.
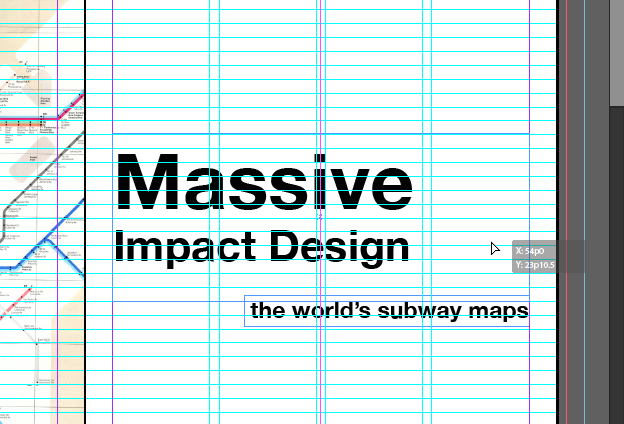
For the font, I selected Helvetica Neue (to play off of the use of Helvetica in the map), size 100 for the word "Massive" and 56 for "Impact Design." I then added the subtitle, in the same font for simplicity's sake, in an even smaller size — 30, and all lower case letters to maintain a hierarchy with the title. Make sure you keep all text on the inside of the safety margins for the edges of the page (indicated in purple), to make sure the text won't be cut off in the printing process.
5. Working with body text
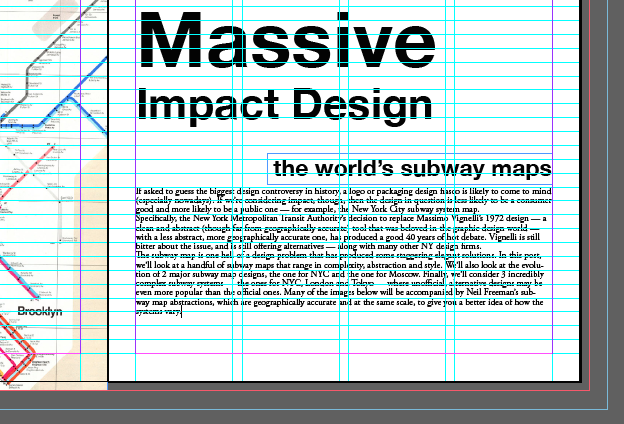
In the next step, we pair the sans serifed bold title with a serifed font for the text. I selected Adobe Garamond Pro in size 12.

To the to right of the toolbar there is an "A" for character formatting and "P" for paragraph formatting. Click P to get the tools for paragraph formatting, then look half way in the middle of the toolbar for a button with three columns. This allows you to create automated columns in your text box. I chose two columns, and left the margins at 1p0. Then, you can use the Selection tool to adjust the box size for columns and fit your text appropriately.
6. Adding Color
Finally, let's add a little bit of color to this page.
Use the Eyedropper tool in the table on the left to select color for the title, this color is R: 252 G:201 B:58
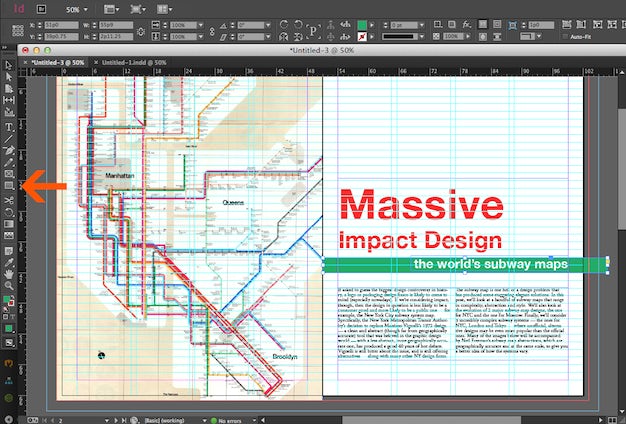
Next, use the rectangle tool that you'll find in the toolbar, to create a horizontal green box around the subtitle — mirroring the effect of the subway lines. I made my line fit the grid — two rows wide.
In addition, at this final stage, I'll tweak the spacing between the three elements by sight, using the grid to create balance between white space, text, and color.
6. Adding page numbers
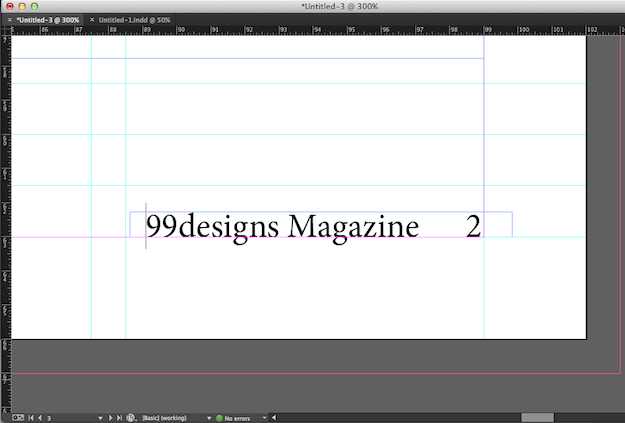
There are ways to automate page numbers in InDesign, but for the use of this basic layout we're just going to do it ourselves, by creating a text box with the name of the magazine and the page number. We skipped this on the left page of the spread, as it's a completely image-based page and we don't want to disrupt the image.
7. Exporting your final design
And we're done! To preview what your work looks like without the guidelines and make sure it's all on the up-and-up, head to the bottom left tool bar:
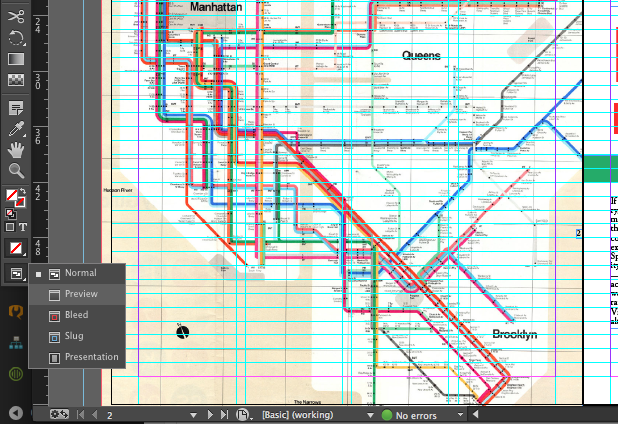
There are five different viewing options.
- Normal: This is what the document looks like with all of the rulers, guides, and other marks you need to create your design.
- Preview: Preview removes these marks, giving you a clean view.
- Bleed: Just like Preview, but includes the bleeds
- Slug: Same as Bleed, but includes the Slug as well
- Presentation: Presents your preview against a black background
Here's the final image when exported:

The format you need to use to export your design will depend on the project, but you'll probably need in .INDD or .PDF document. Here's the dialog for exporting as a PDF:
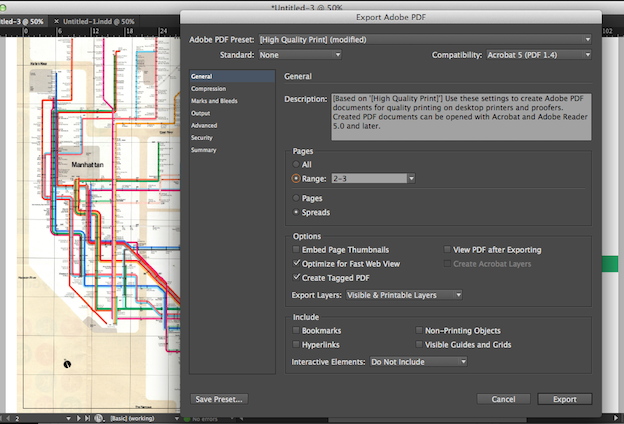
To get here, hit File > Export (Ctrl/Cmd + E). In exporting a design, I keep it pretty simple, just making sure that I'm exporting the image as a high quality PDF and making sure that it's exported as a spread and not just a page. do this by making sure the " Spreads" buttong under the heading "Pages" is clicked. You can also determine whether or not you are exporting the Marks and Bleeds, by heading to the "Marks and Bleeds" section on the side of the menu, and selecting which you want included or excluded.
And there you have it, a beginner's guide to a selection of the most useful tools and how to create a magazine in InDesign. There's a ton more that you can do with this program, so get experimenting!
Have you created a magazine in InDesign before? What other tips do you have for designers?
Creating A Magazine In Indesign
Source: https://99designs.com/blog/design-tutorials/create-a-magazine-in-indesign/
Posted by: perrythout1960.blogspot.com
0 Response to "Creating A Magazine In Indesign"
Post a Comment